
Materials
- 3/4" x 4' x 8' Oak (or other hardwood) Plywood: One Piece for the three shelves
- 3/4" x 6" x 6' Solid Oak Material: Four pieces for the Two Side Panels and Finishing Edges
- Kreg Screws; 1/4 lb.

- 1 1/2" Wood Screws; 1/4 lb.
- One Set of Slides Hinges

- Sandpaper
- Wood Filler and Glue
- Satin Finish Polyurethane Poly

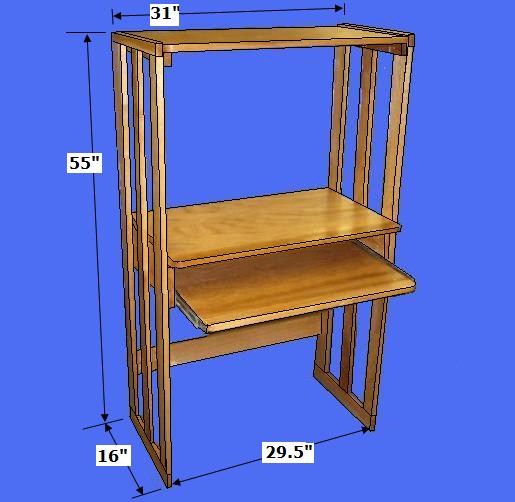
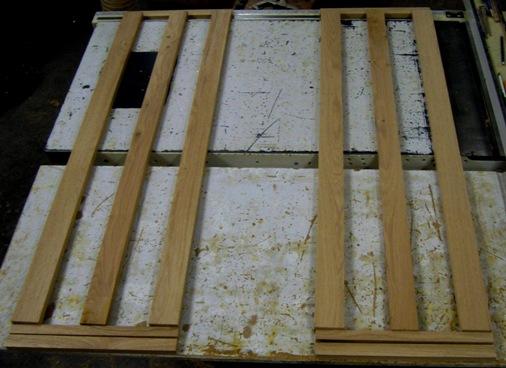
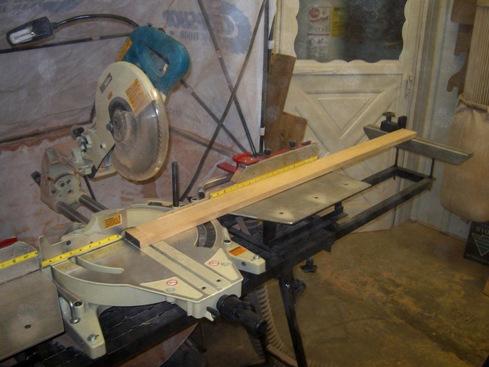
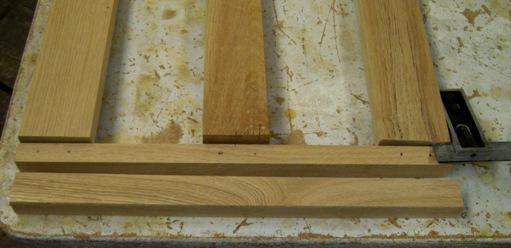
Step 1: Cut the Side Pieces - Determine the desired size of the Desk
- Select the 3/4"x 6" Oak Material; Crosscut three pieces @ 51"; rip the pieces to six pieces @ 2 7/8" for the Stiles
- Select the 3/4"x 6" Oak Material; Cut two pieces @ 1" x 16" for the Top Rails; Cut two pieces @ 3" x 16" for the Bottom Rails, as shown above
- Select the two Bottom Rails; Rip 1" from the top edge of each (mark the side pairs and keep the pairs together)
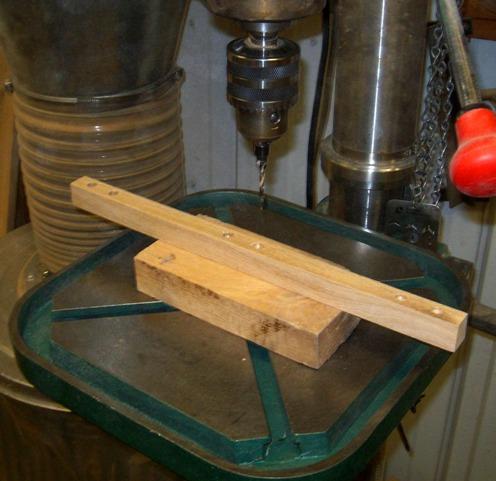
- Select the 1" Bottom Rail Pieces; Evenly space the three Stiles for each side on the repsective 1" Bottom Rail; using a drill press, drill two holes (counter-sink) per stile in the 1" Rail piece
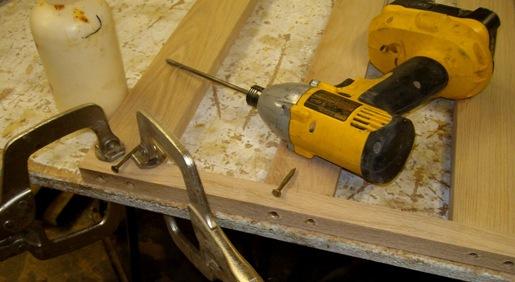
- Select the 1" Bottom Rail Pieces with the holes; Using 1.5" screws, attach the Rails to the Stiles
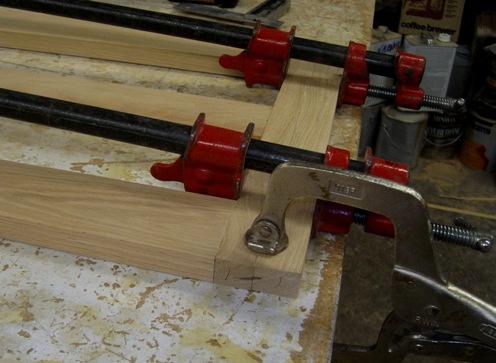
- Select the 2" Bottom Rail Pieces; Glue and clamp the marked, corresponding 2" piece to the 1" piece to reconnect the Bottom Rail Assembly
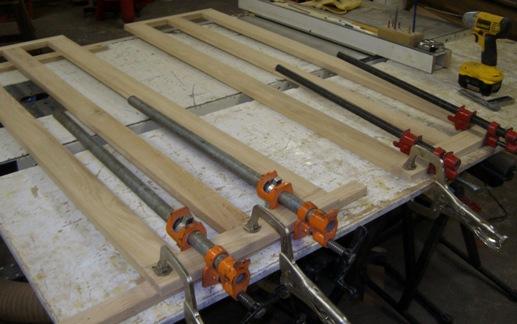
- Select the 1" Top Rail Pieces; Using the Kreg System, Connect the Top Rails to the Stiles, completing the Side Assemblies
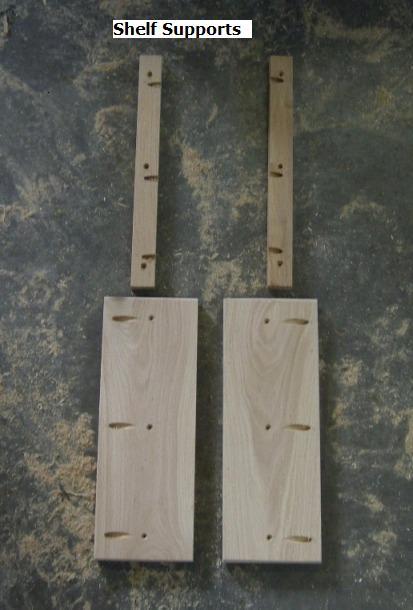
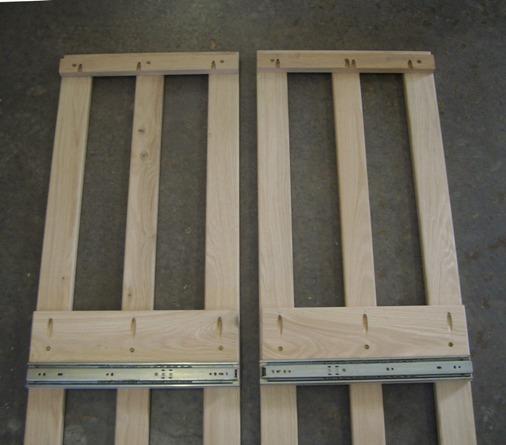
Step 2: Cut and Assemble the Shelf-support Pieces - Select the Oak Material and Shelf Slides
- Select the Oak Material; Cut two pieces @ 1.5" x 16" for the Top Shelf Support; Cut two pieces @ 5" x 16" for the two Bottom Shelf Supports
- Select the two, Top Shelf Supports; Pre-drill three, counter-sunk holes in each to attach to the Side Assemblies; Pre-drill three Kregg holes in each to stablize the Top Shelf
- Use the Kreg Pocket Hole Jig System
 ; drill the holes along the interior, top edges of the Shelf Supports, as shown above ; drill the holes along the interior, top edges of the Shelf Supports, as shown above
- Select the two, Top Shelf Supports; Measure down 1" from the top edge of each Side Assemblies and screw them in place
- Select the two, 5" Shelf Supports; Pre-drill three, counter-sunk holes in each to attach to the Side Assemblies; Pre-drill three, Kregg holes in each to stablize the Middle Shelf
- Select the Set of Shelf Glides; Attach the Glides to the bottom of the Middle Shelf Supports
- Select the two, Middle Shelf Supports; Screw them into place, with the top edge at 26" from the bottom of the Side Assemblies
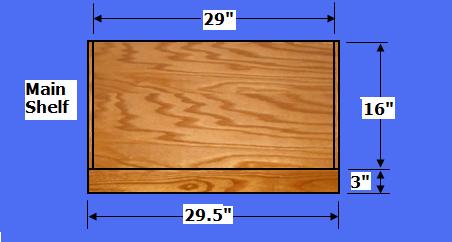
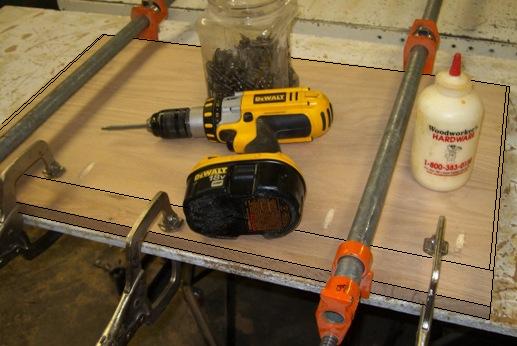
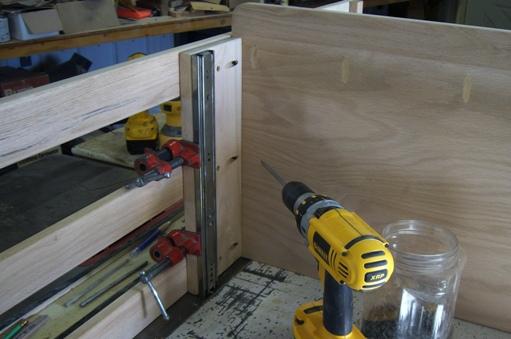
Step 3: Make and Attach the Main Shelf - Select the 3/4" Solid Oak Material and Plywood
- Select the Plywood; Cut one piece to 16" x 29"; on the back side, drill five Kreg holes to receive the front lip
- Select the Oak Material; Cut two pieces @ 16" x 1/4" for the two edges of the plywood shelf; glue them to the edges of the Plywood Shelf, as shown above
- Select the Oak Material; Cut one piece to 29.5" x 3", for the Front Shelf Lip; With Kreg screws, attach the Front Shelf Lip, as shown above
- Select the Shelf Assembly; Round the Front Corners; With Kreg screws, attach the Main Shelf to the right and left Shelf Supports, as shown above
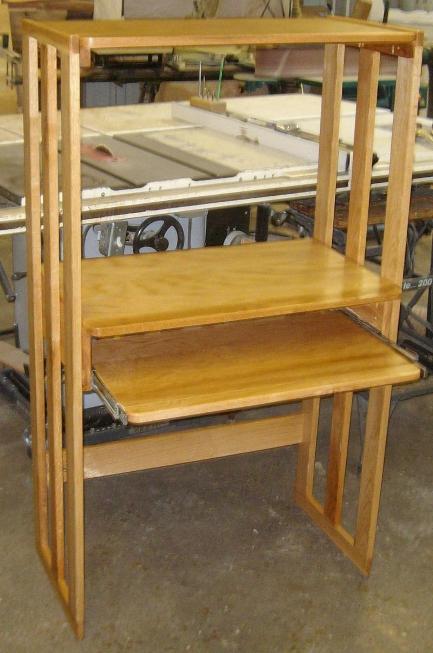
Step 4: Make and Attach the Top Shelf - Select the 3/4" Solid Oak Material and Plywood
- Select the Plywood; Cut one piece to 16" x 29"; on the back side, drill five Kreg holes to receive the front lip
- Select the Oak Material; Cut two pieces @ 16" x 1/4" for the two edges of the plywood shelf; glue them to the edges of the Plywood Shelf
- Select the Oak Material; Cut one piece to 29.5" x 1.5", for the Front Shelf Lip; With Kreg screws, attach the Front Shelf Lip
- Select the Shelf Assembly; Round the Front Corners; With Kreg screws, attach the Top Shelf to the right and left Shelf Supports
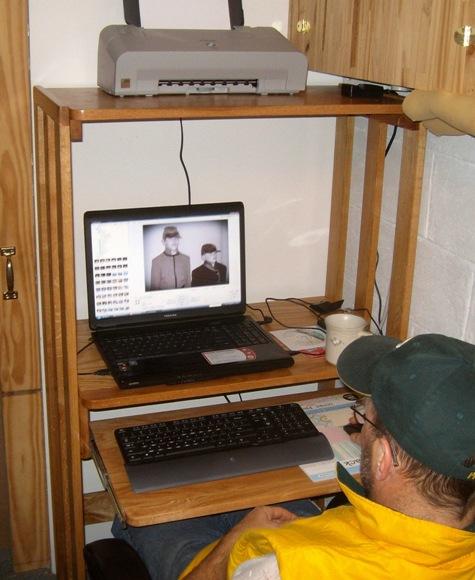
Step 5: Make and Attach the Pull-Out Shelf - Select the 3/4" Solid Oak Material and Plywood
- Select the Plywood; Cut one piece to 16" x 26.5" (before you cut, to be accurate, measure the distance between the glides and subtract 1/2" for the two, 1/4" side finishing strips); on the back side, drill five Kreg holes to receive the front lip
- Select the Oak Material; Cut two pieces @ 16" x 1/4" for the two edges of the plywood shelf; glue them to the edges of the Plywood Shelf
- Select the Oak Material; Cut one piece to 27" x 1.5", for the Front Shelf Lip; With Kreg screws, attach the Front Shelf Lip
- Select the Shelf Assembly; Round the Front Corners
- Select the Shelf Assembly and the Glide pieces; Attach the Glide Pieces to each edge of the Shelf; Install the Shelf into the receiving Slide pieces

Step 6: Make and Attach the Bottom Support Brace - Select the 3/4" Solid Oak Material
- Select the Oak Material; Cut one piece to 29.5" x 6"; On the reverse side, drill three, Kreg holes on each end
- Select the Bottom Support Brace; With Kreg screws, attach the Brace to the right and left Sides about 10" from the bottom, as shown above
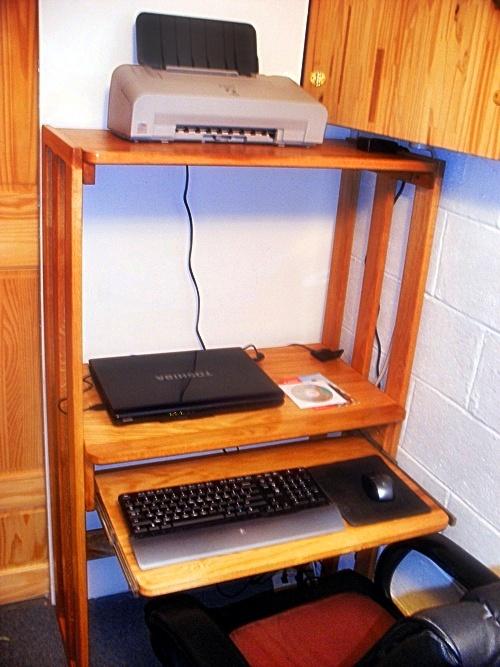
Step 7: Finish the Computer Desk - Select the Finishing Materials
- Use Wood Filler for all holes
- Complete all sanding
- Apply a minimum of three coats of poly


Copyright 2013 - Wayne Murray
If you are a member of a non-profit organization and have any requests or suggestions regarding projects for your group, you can send Rod an email at: rodneyg@cheqnet.net
|


