Materials
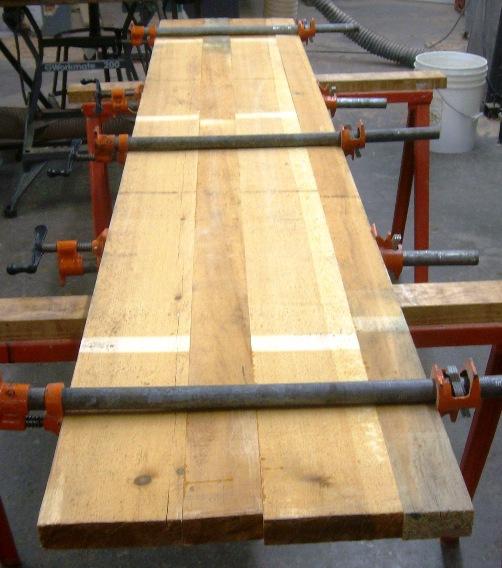
- 1 1/4" Thick x 17" Wide x 96" Over-sized Pine (or wood of choice) (Note: If over-sized wood is not available, use 2x4's glued edge-to-edge and planed to size): One Piece for the Top and two Legs
- 1 1/4" x 3 1/2" x 96" Pine (use 2x4's or wood of choice): Three pieces for the Braces
- 2 1/2" Wood Screws: 1/8 lb.
- 1 1/4" Kreg Screws: 1/8 lb.
- 3/8" Wood Plugs: 4
- Sandpaper
- Wood Filler and Glue
- Satin Finish Polyurethane Poly
Tools
- Table Saw
- Belt Sander or 120 grit sandpaper and a block (320 grit for finish sanding)
- Tape Measure
- Pencil
- Corner/Arc Template
- Miter Saw
- Band Saw
- Power Drill with DeWalt 9/64 Tapered Bit with Plug Cutter
- Router with Round-over Bit
- Kreg Pocket Hole System
- Screw Gun
- Two Clamps: Bar Clamps and a Gripping Clamp
- Hammer
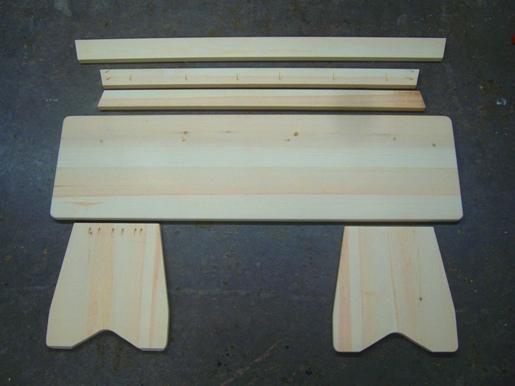
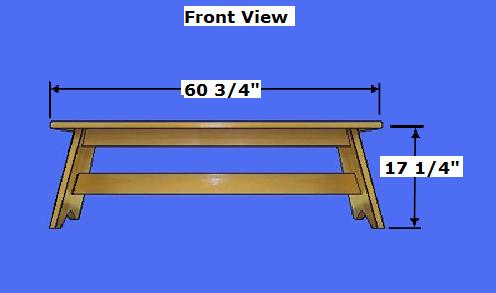
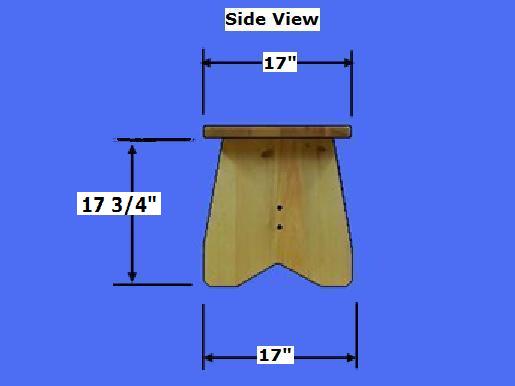
Step 1: Cut the Bench Pieces - Determine the desired size of your bench or use the dimensions provided here
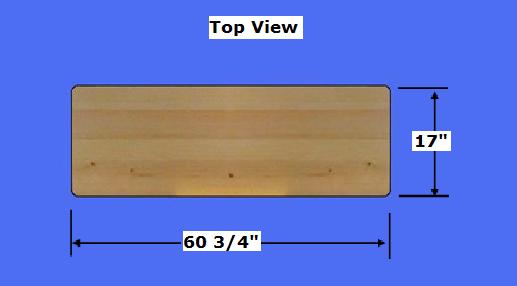
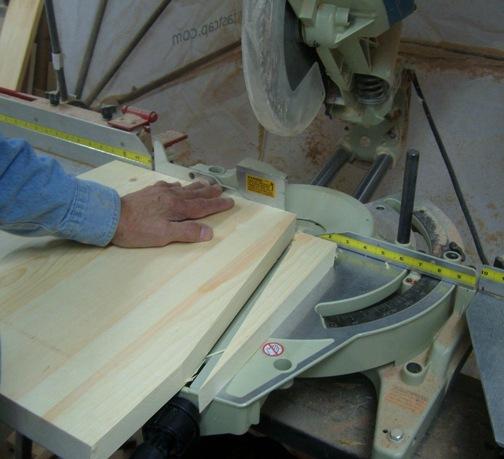
- Select the planed 1 1/4" x 17" stock: Crosscut the Top and Two Leg Panels per the dimensions above
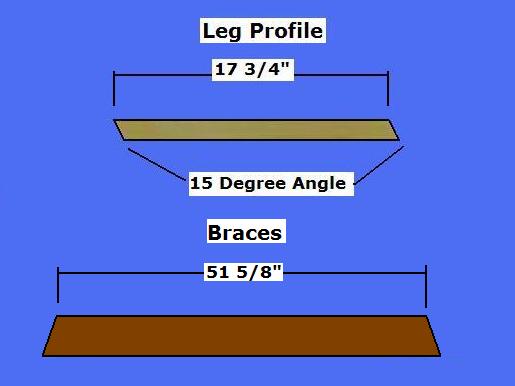
- Select the 1 1/4" or 2x4 x 96" stock: Cut two pieces @ 51 5/8" with 15 degree angles as shown above for the two, Top Braces
- Select the third, 1 1/4" or 2x4 x 96" stock: Add "FOUR INCHES" to the Top Brace measurement and cut the Lower Brace @ 55 5/8"
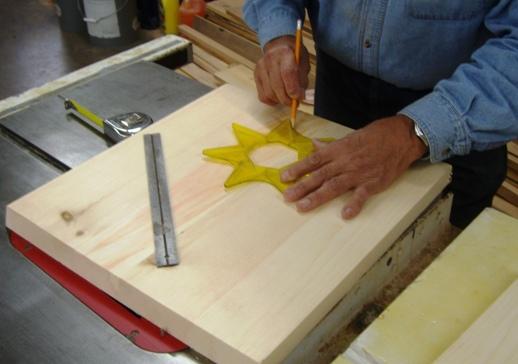
Step 2: Make the two, Legs - Select the two Leg Pieces; determine and mark the "Left" and the "Right"
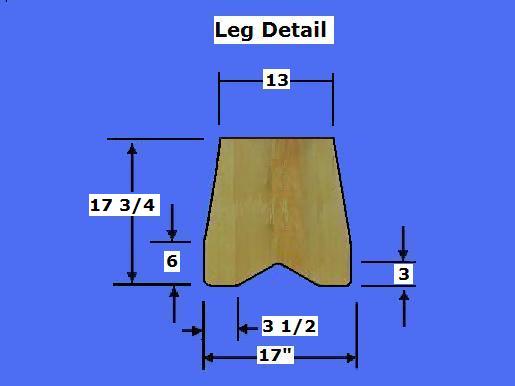
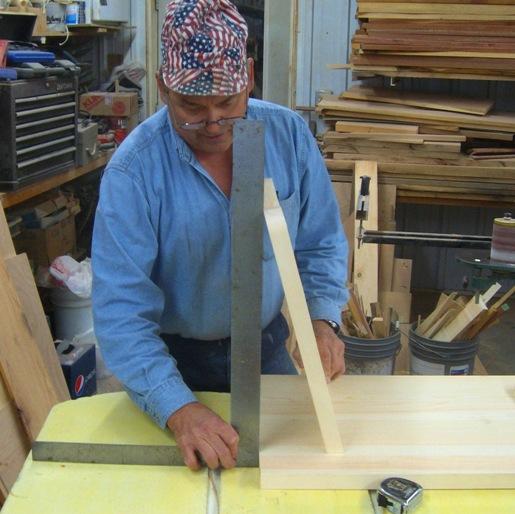
- Select the two Legs with the 15 degree cuts made on the top and bottom edges; Layout the cuts to be made per the dimensions above
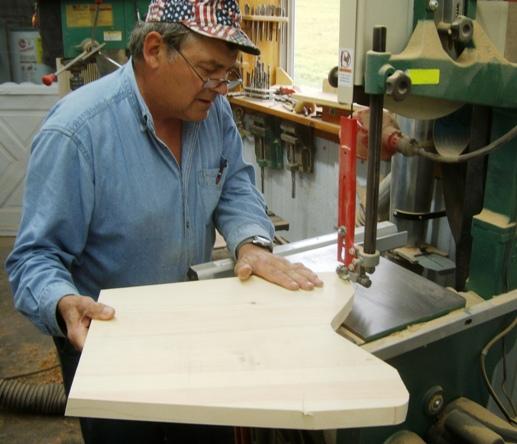
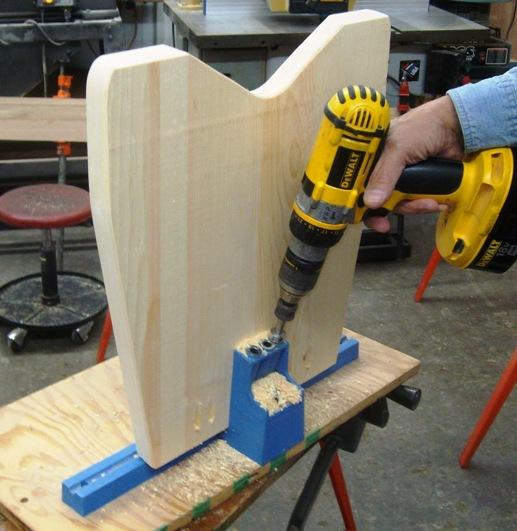
- Using a miter saw cut the top edges; using a Bandsaw, round the bottom, outer edges and cut out the hole in the lower edges
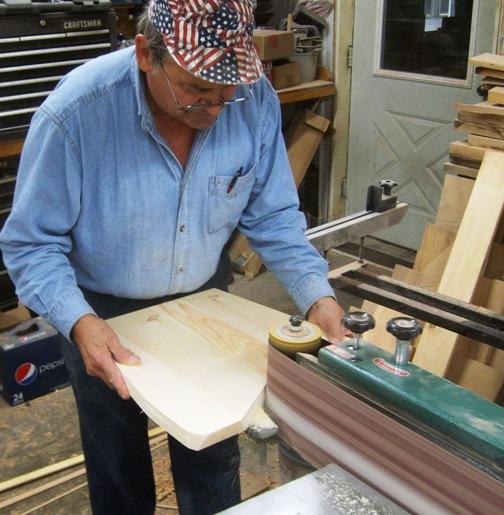
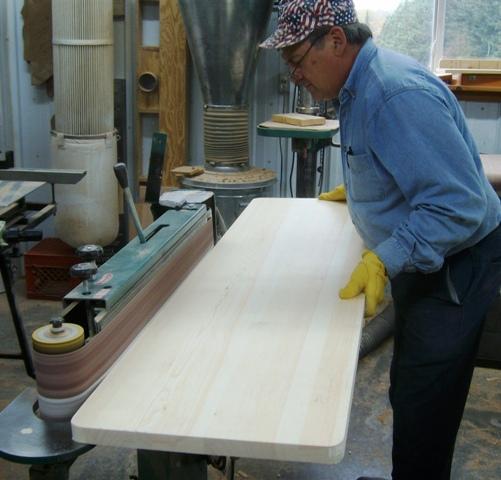
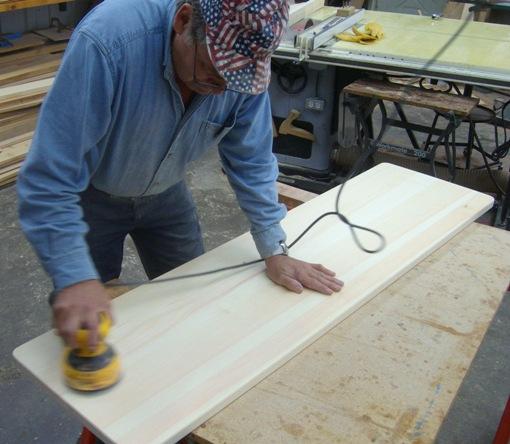
- Using a sander, sand the Legs smooth (DO NOT sand the top or bottom edges)
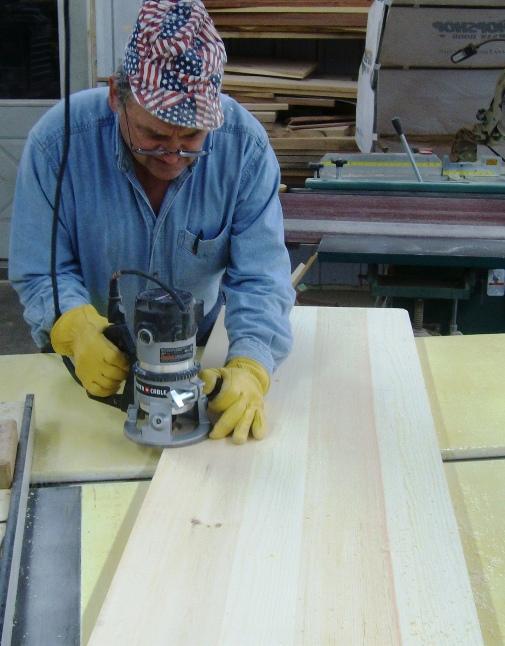
- Using a Router with a Round-over bit, round all edges (DO NOT router the top or bottom edges)
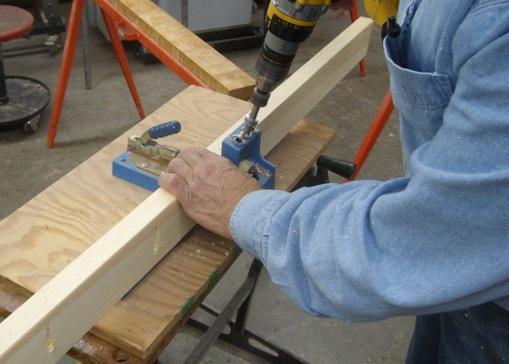
- Using a Kreg Pocket Hole System, drill the holes along the top, interior edge, as show above
Step 3: Complete Bench Seat and Top Braces - Select the Seat and two, Top Brace Pieces
- Using a Bandsaw, round the edges of the Seat
- Using a Sander and Router, sand and router the Seat and the Top Braces (Note: Router only the "bottom edges" of the Braces)
- Using the Kreg System, drill pocket holes along the "top and side, interior" edges of the Top Braces that will connect to the Legs and Seat
Step 4: Assemble the Bench - Select the sanded pieces
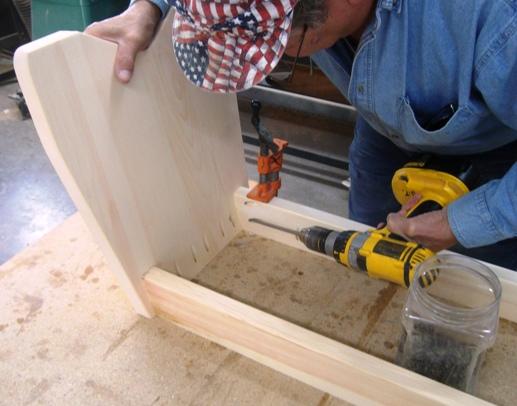
- Select the two Legs and two, Top Braces; using Kreg screws, attach the Braces to the Legs
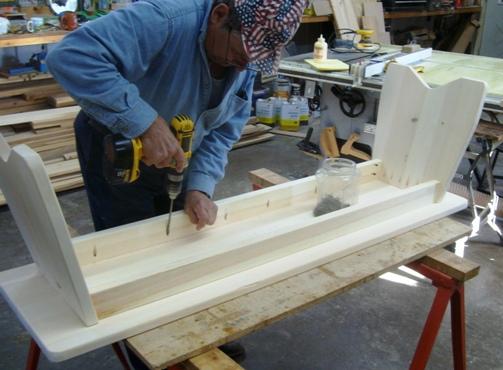
- Select Leg/Brace assembly and the Seat; Center and attach the assembly to the bottom of the Seat Piece
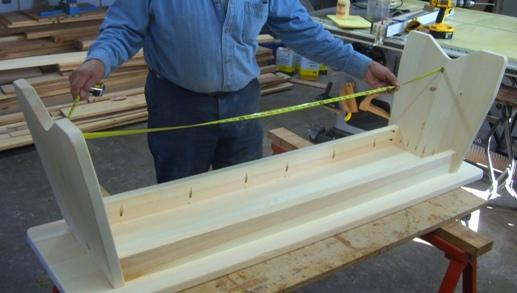
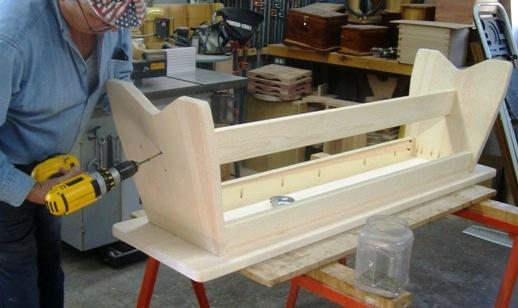
- Select the Lower Brace and dry-fit it, center and mark where the Brace touches the Legs; Drill and countersink two holes on the exterior side of each of the Legs
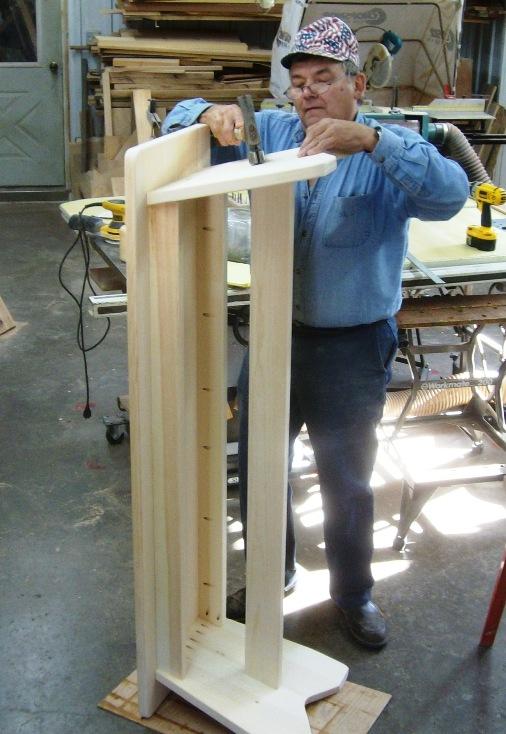
- Select the 2 1/2" wood screws and attach the Legs to the Lower Brace; Using glue and Wood Plugs, fill the holes; Sand the Plugs flush with the Leg surface


Step 5: Finish the Bench - Select the Completed Bench
- Fill all holes and cracks with filler; Conduct a final sanding of all surfaces
- Apply poly


Copyright 2013 - Wayne Murray
If you are a member of a non-profit organization and have any requests or suggestions regarding projects for your group, you can send Rod an email at: [email protected]
|